
Proxmox GPU passthrough for Jellyfin LXC with NVIDIA Graphics card (GTX1050 ti)
In the terminal of the Proxmox host:
-
Install gcc with
apt install gcc -
Install build-essential with
apt install build-essential -
Reboot the machine
-
Install the pve-headers with
apt install pve-headers-$(uname -r) -
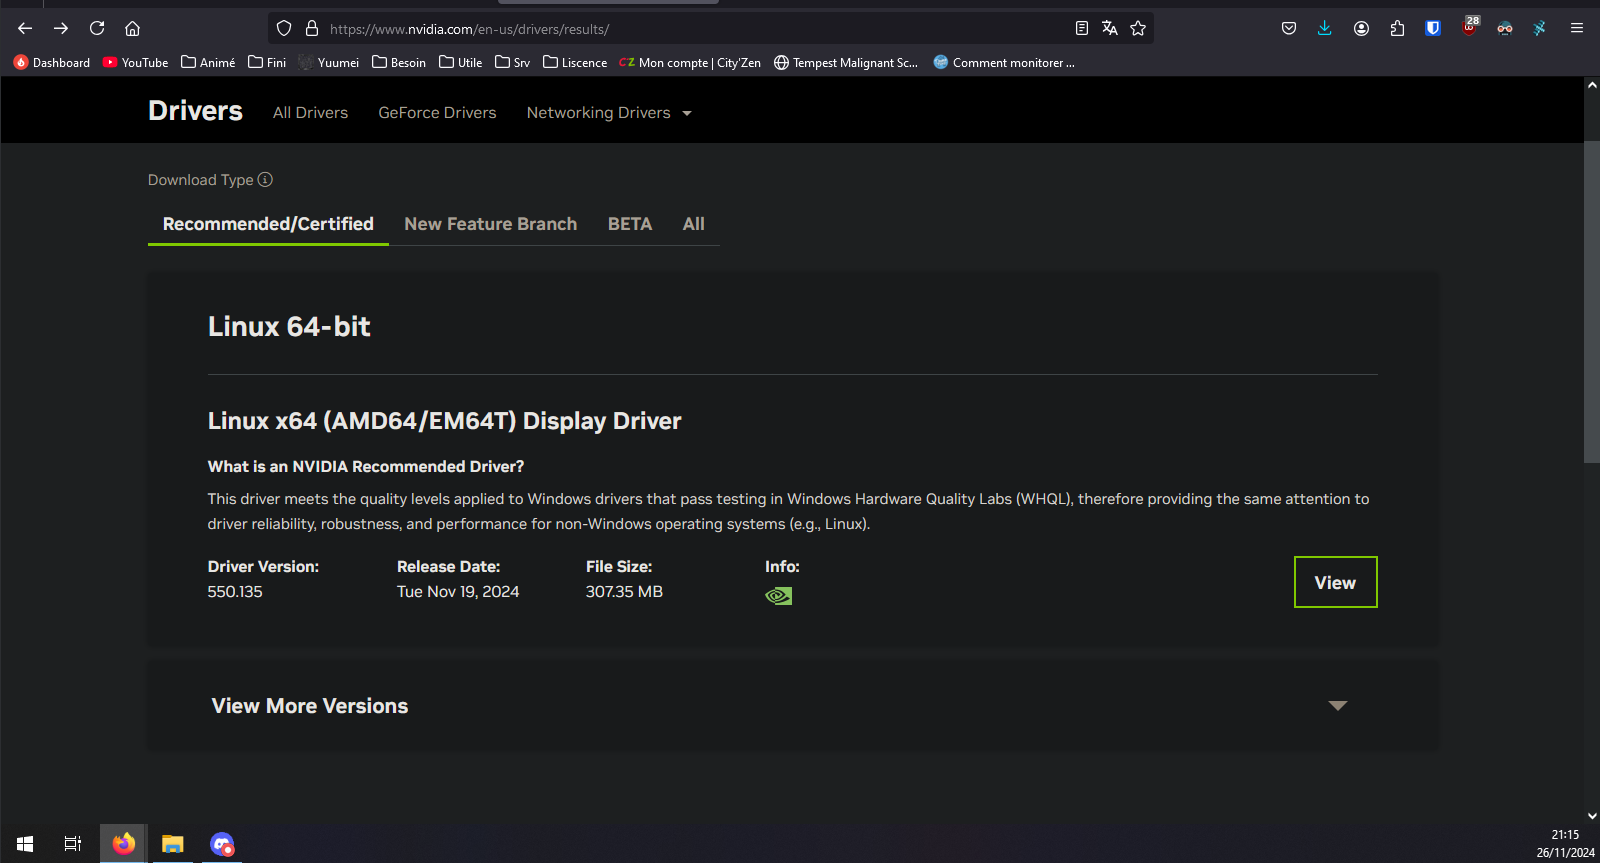
Install the nvidia driver from the official page https://www.nvidia.com/download/index.aspx :
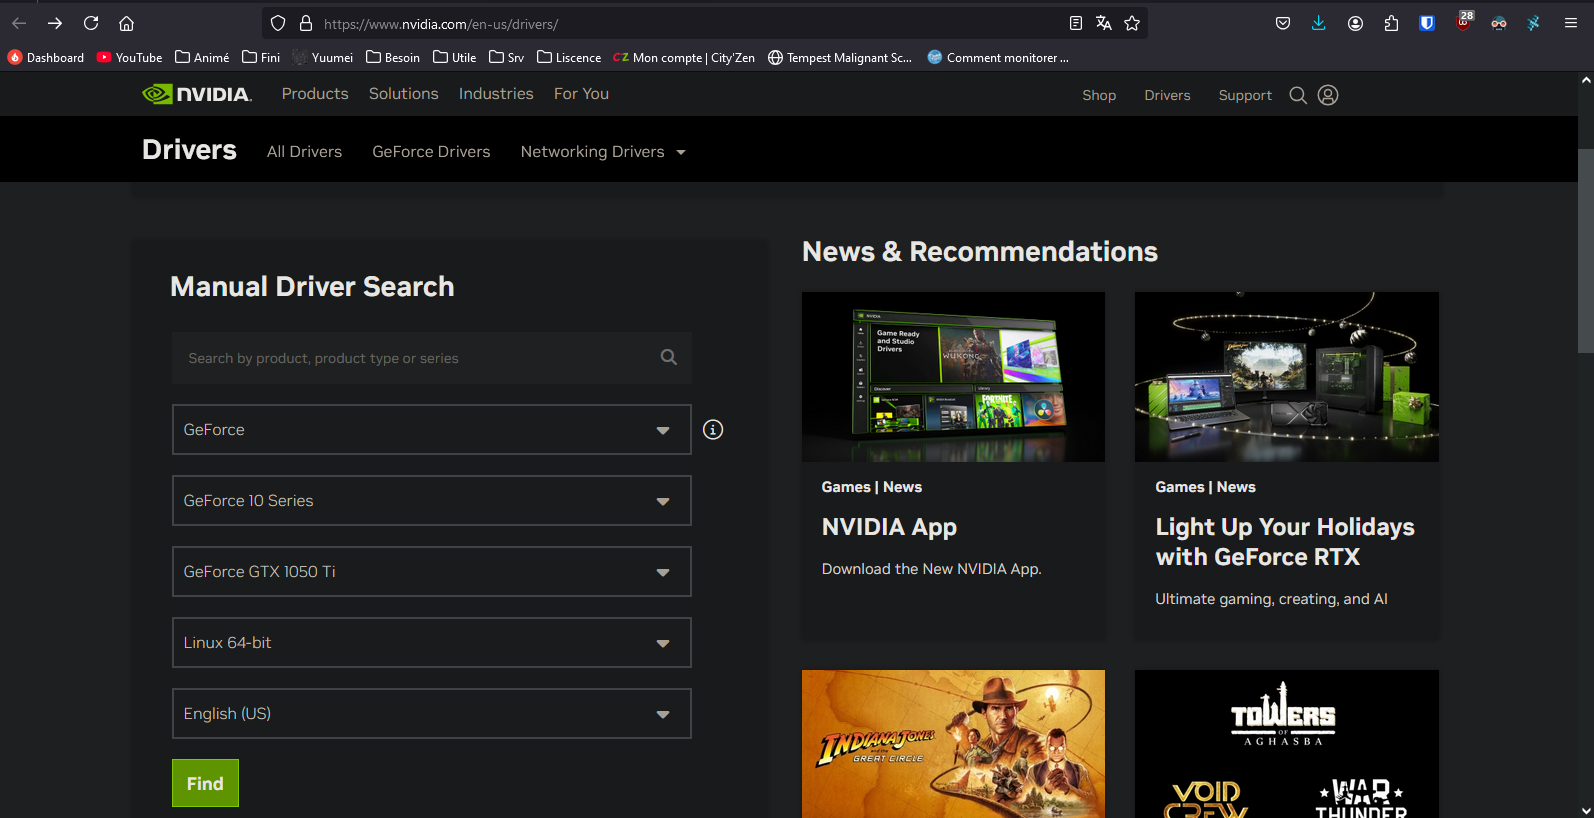
-
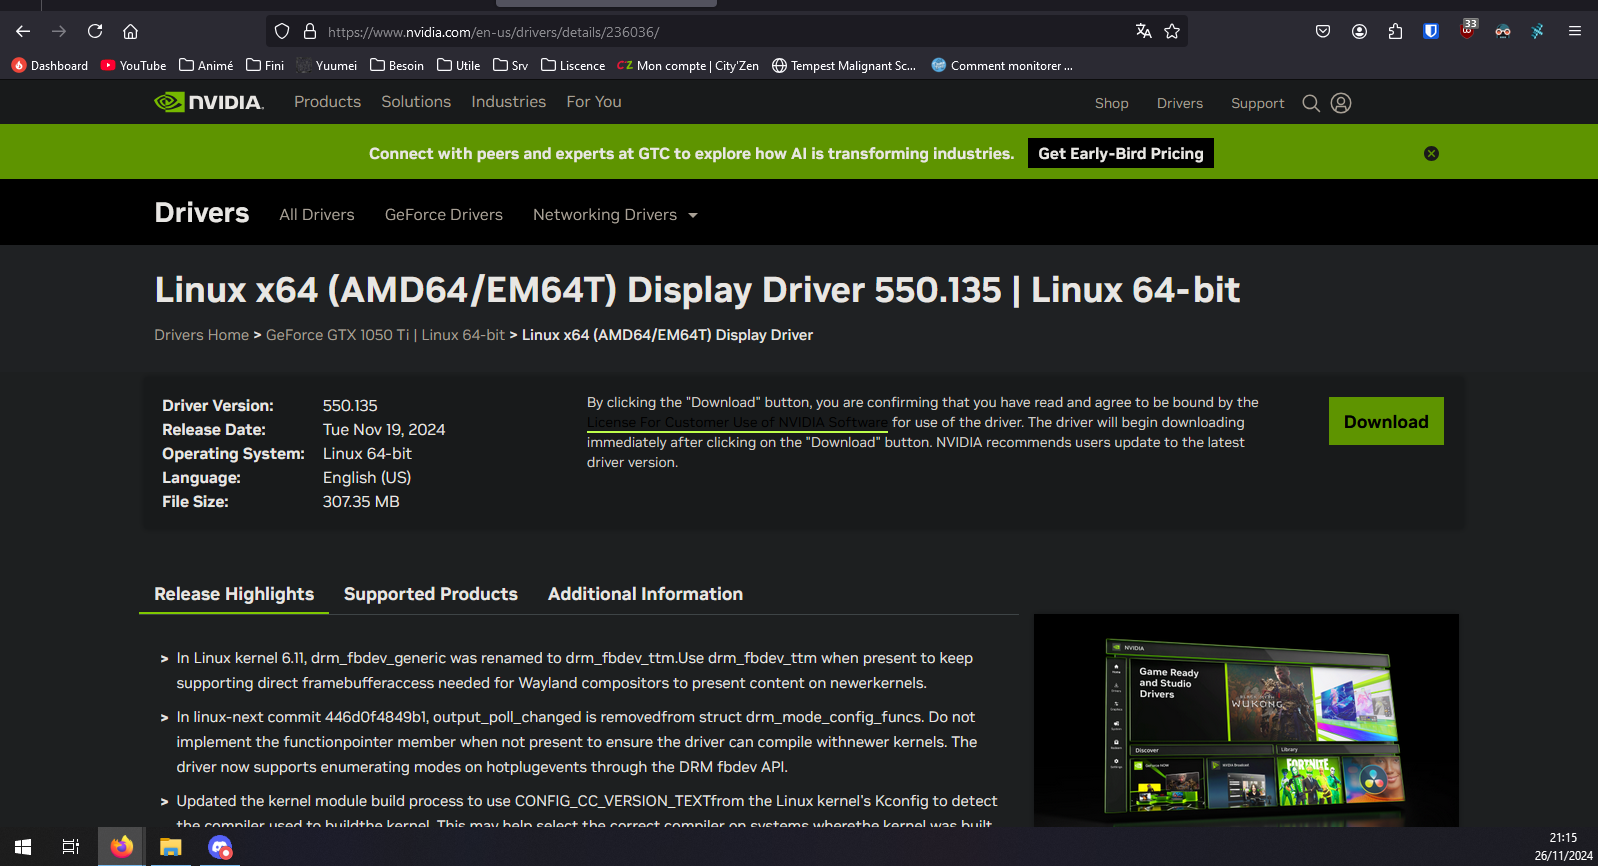
Download the file in your Proxmox host with
wget [link you copied],in my casewget https://us.download.nvidia.com/XFree86/Linux-x86_64/550.76/NVIDIA-Linux-x86_64-550.76.run -
Also copy the link into a text file, as we will need the exact same link later again. (For the GPU passthrough to work, the drivers in Proxmox and inside the lxc need to match, so it is vital, that we download the same file on both)
-
After the download finished, run
ls, to see the downloades file, in my case it listedNVIDIA-Linux-x86_64-550.76.run. Mark the filename and copy it -
Now execute the file with
sh [filename](in my casesh NVIDIA-Linux-x86_64-550.76.run) and go through the installer. There should be no issues. When asked about the x-configuration file, I accepted. You can also ignore the error about the 32-bit part missing. -
Reboot the machine
-
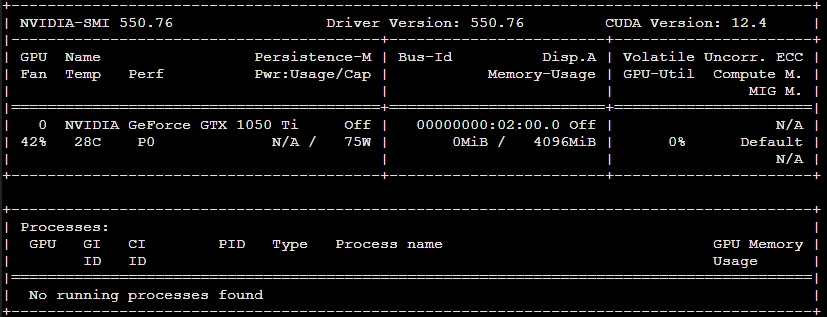
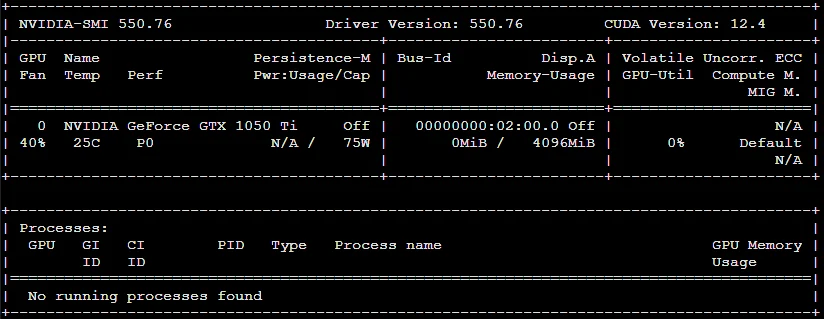
Run
nvidia-smi, to verify the installation - if you get the box shown below, everything worked so far:
-
Create a new Debian 12 lxc for Jellyfin to run in, note the container ID (CT ID), as we will need it later.
script for auto jellyfin install :
bash -c "$(wget -qLO - https://github.com/community-scripts/ProxmoxVE/raw/main/ct/jellyfin.sh)" -
Start the lxc and log into the console, now run
apt update && apt full-upgrade -yto update the system -
assign a static IP address to the lxc in your internet router. If you do not do that, all connected devices may loose contact to the Jellyfin host, if the IP address changes at some point.
-
Reboot the lxc, to make sure all updates are applied and if you configured one, the new static IP address is applied. (You can check the IP address with the command
ip a) - Shutdown the lxc
-
Now switch back to the Proxmox servers main console
-
Run
ls -l /dev/nvidia*to view all the nvidia devices:
crw-rw-rw- 1 root root 195,   0 Apr 18 19:36 /dev/nvidia0
crw-rw-rw- 1 root root 195, 255 Apr 18 19:36 /dev/nvidiactl
crw-rw-rw- 1 root root 235,   0 Apr 18 19:36 /dev/nvidia-uvm
crw-rw-rw- 1 root root 235,   1 Apr 18 19:36 /dev/nvidia-uvm-tools

/dev/nvidia-caps:
total 0
cr-------- 1 root root 238, 1 Apr 18 19:36 nvidia-cap1
cr--r--r-- 1 root root 238, 2 Apr 18 19:36 nvidia-cap2
-
Copy the output of the previus command (
ls -l /dev/nv*) into a text file, as we will need the information in further steps. Also take note, that all the nvidia devices are assigned toroot root. Now we know, that we need to route the root group and the corresponding devices to the lxc. -
Run
cat /etc/groupto look through all the groups and find root. In my case (as it should be) root is right at the top:
root:x:0:
-
Run
nano /etc/subgidto add a new mapping to the file, to allow root to map those groups to a new group ID in the following process, by adding a line to the file:root:X:1, with X being the number of the group we need to map (in my case 0). My file ended up looking like this:
root:100000:65536
root:0:1
-
Run
cd /etc/pve/lxcto get into the folder for editing the container config file (and optionally runlsto view all the files) -
Run
nano X.confwith X being the lxc ID (in my casenano 500.conf) to edit the corresponding containers configuration file. Before any of the further changes, my file looked like this:
arch: amd64
cores: 4
features: nesting=1
hostname: Jellyfin
memory: 2048
mp0: /HDD_1/media,mp=/mnt/media
net0: name=eth0,bridge=vmbr1,firewall=1,hwaddr=BC:24:11:57:90:B4,ip=dhcp,ip6=auto,type=veth
ostype: debian
rootfs: NVME_1:subvol-500-disk-0,size=12G
swap: 2048
unprivileged: 1
-
Now we will edit this file to pass the relevant devices through to the container
-
Underneath the previously shown lines, add the following line for every device we need to pass through. Use the text you copied previously for refference, as we will need to use the corresponding numbers here for all the devices we need to pass through. I suggest working your way through from top to bottom. For example to pass through my first device called "/dev/nvidia0" (at the end of each line, you can see which device it is), I need to look at the first line of my copied text:
crw-rw-rw- 1 root root 195, 0 Apr 18 19:36 /dev/nvidia0
Right now, for each device only the two numbers listed after "root" are relevant, in my case 195 and 0. For each device, add a line to the containers config file, following this pattern:lxc.cgroup2.devices.allow: c [first number]:[second number] rwm
So in my case, I get these lines:
-
lxc.cgroup2.devices.allow: c 195:0 rwm
lxc.cgroup2.devices.allow: c 195:255 rwm
lxc.cgroup2.devices.allow: c 235:0 rwm
lxc.cgroup2.devices.allow: c 235:1 rwm
lxc.cgroup2.devices.allow: c 238:1 rwm
lxc.cgroup2.devices.allow: c 238:2 rwm
-
Now underneath, we also need to add a line for every device, to be mounted, following the pattern (note not to forget adding each device twice into the line)
lxc.mount.entry: [device] [device] none bind,optional,create=file
In my case this results in the following lines (if your device s are the same, just copy the text for simplicity):
lxc.mount.entry: /dev/nvidia0 dev/nvidia0 none bind,optional,create=file
lxc.mount.entry: /dev/nvidiactl dev/nvidiactl none bind,optional,create=file
lxc.mount.entry: /dev/nvidia-uvm dev/nvidia-uvm none bind,optional,create=file
lxc.mount.entry: /dev/nvidia-uvm-tools dev/nvidia-uvm-tools none bind,optional,create=file
lxc.mount.entry: /dev/nvidia-caps/nvidia-cap1 dev/nvidia-caps/nvidia-cap1 none bind,optional,create=file
lxc.mount.entry: /dev/nvidia-caps/nvidia-cap2 dev/nvidia-caps/nvidia-cap2 none bind,optional,create=file
-
underneath, add the following lines, to map the previously enabled group to the container:
lxc.idmap: u 0 100000 65536
-
to map the group ID 0 (root group in the Proxmox host, the owner of the devices we passed through) to be the same in both namespaces:
lxc.idmap: g 0 0 1
-
to map all the following group IDs (1 to 65536) in the Proxmox Host to the containers namespace (group IDs 100000 to 65535):
lxc.idmap: g 1 100000 65536
-
In the end, the lxc configuration file looked like this:
arch: amd64
cores: 4
features: nesting=1
hostname: Jellyfin
memory: 2048
mp0: /HDD_1/media,mp=/mnt/media
net0: name=eth0,bridge=vmbr1,firewall=1,hwaddr=BC:24:11:57:90:B4,ip=dhcp,ip6=auto,typ>
ostype: debian
rootfs: NVME_1:subvol-500-disk-0,size=12G
swap: 2048
unprivileged: 1
lxc.cgroup2.devices.allow: c 195:0 rwm
lxc.cgroup2.devices.allow: c 195:255 rwm
lxc.cgroup2.devices.allow: c 235:0 rwm
lxc.cgroup2.devices.allow: c 235:1 rwm
lxc.cgroup2.devices.allow: c 238:1 rwm
lxc.cgroup2.devices.allow: c 238:2 rwm
lxc.mount.entry: /dev/nvidia0 dev/nvidia0 none bind,optional,create=file
lxc.mount.entry: /dev/nvidiactl dev/nvidiactl none bind,optional,create=file
lxc.mount.entry: /dev/nvidia-uvm dev/nvidia-uvm none bind,optional,create=file
lxc.mount.entry: /dev/nvidia-uvm-tools dev/nvidia-uvm-tools none bind,optional,create>
lxc.mount.entry: /dev/nvidia-caps/nvidia-cap1 dev/nvidia-caps/nvidia-cap1 none bind,o>
lxc.mount.entry: /dev/nvidia-caps/nvidia-cap2 dev/nvidia-caps/nvidia-cap2 none bind,o>
lxc.idmap: u 0 100000 65536
lxc.idmap: g 0 0 1
lxc.idmap: g 1 100000 65536
-
Now start the lxc. If the lxc does not start correctly, check the lxc configuration file again, because you may have made a misake while adding the new lines.
-
Go into the lxc console and download the same nvidia driver file, as done previously in the Proxmox host (
wget [link you copied]), using the link you copied before-
Run
ls, to see the file you downloaded and copy the file name -
Execute the file, but now add the --no-kernel-module flag. Because the host shares its kernel with the container, the files are already installed. Leaving this flag out, will cause an error:
sh [filename] --no-kernel-module
in my casesh NVIDIA-Linux-x86_64-550.76.run --no-kernel-module
Run the installer the same way, as before. You can again ignore the X-driver error and the 32 bit error. Take note of the vulkan loader error. I don't know if the package is actually necessary, so I installed it, just to be safe. For the current debian 12 distro, libvulkan1 is the right one:apt install libvulkan1
-
-
Reboot the whole Proxmox server
-
Run
nvidia-smiinside the lxc console. You should now get the familiar box again. If there is an error message, something went wrong (see possible mistakes below)
-
Go into the Jellyfin Dashboard and into the settings. Under Playback, select Nvidia NVENC vor video transcoding and select the appropriate transcoding methods (see the matrix under "Decoding" on https://developer.nvidia.com/video-encode-and-decode-gpu-support-matrix-new for refference)
In my case, I used the following options, although I have not tested the system completely for stability:
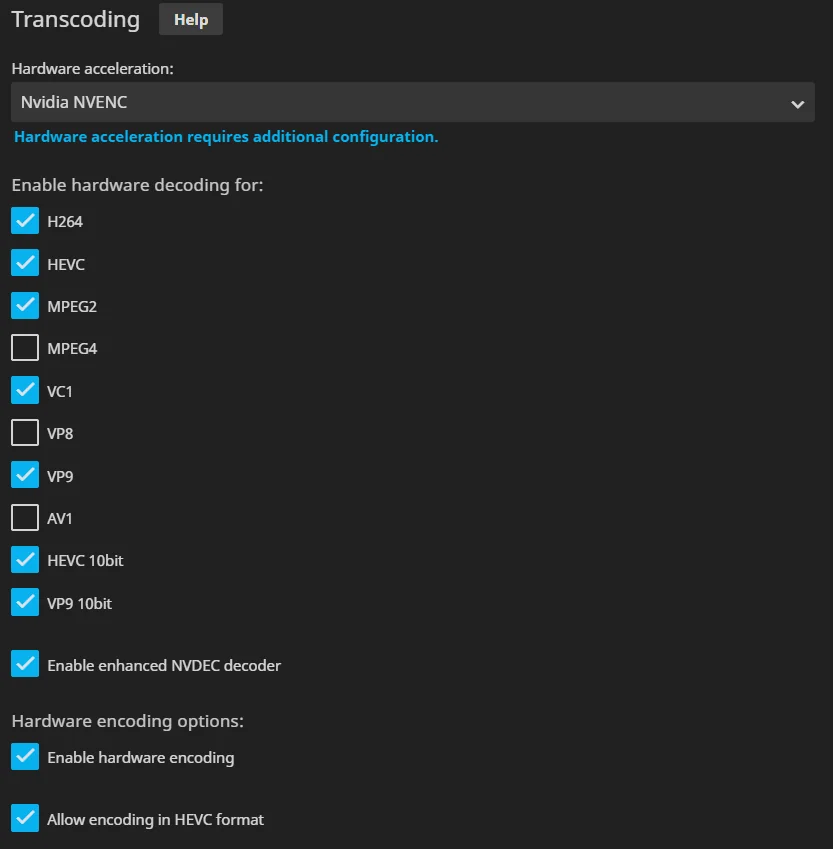
-
Save these settings with the "Save" button at the bottom of the page
-
Start a Movie on the Jellyfin web-GUI and select a non native quality (just try a few)
-
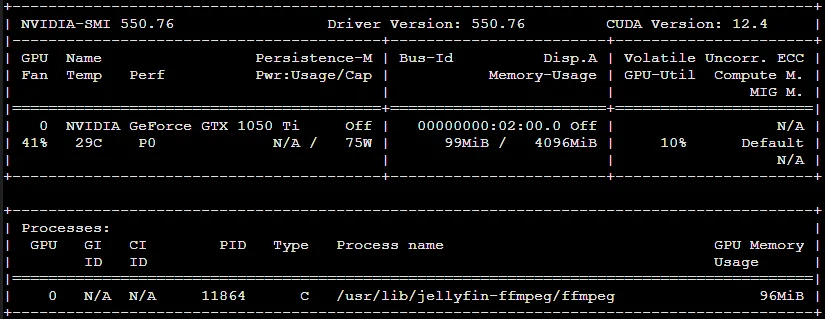
While the movie is running in the background, open the Proxmox host shell and run
nvidia-smi
If everything works, you should see the process running at the bottom (it will only be visible in the Proxmox host and not the jellyfin container):
-
OPTIONAL: a way to disable the cap for the maximum encoding streams (https://forum.proxmox.com/threads/jellyfin-lxc-with-nvidia-gpu-transcoding-and-network-storage.138873/ see " The final step: Unlimited encoding streams").
-
First in the Proxmox host shell:
-
Run
cd /opt/nvidia -
Run
wgethttps://raw.githubusercontent.com/keylase/nvidia-patch/master/patch.sh -
Run
bash ./patch.sh
-
-
Then, in the Jellyfin container console:
-
Run
mkdir /opt/nvidia -
Run
cd /opt/nvidia -
Run
wgethttps://raw.githubusercontent.com/keylase/nvidia-patch/master/patch.sh -
Run
bash ./patch.sh
-
-
Afterwards I rebooted the whole server
-
No comments to display
No comments to display